Getting Started with Synth: Your First Synthesized Tool in 5 Minutes
OATS — On-demand Agent Tool Synthesis — takes a fundamentally different approach to AI tooling. Instead of pre-building and registering tool wrappers for every API your agent might need, you describe your intent in natural language, and OATS synthesizes the tool on demand. The generated code is shown to you for review, approved or rejected, and then executed in a sandbox. No persistent tool catalog. No integration debt.
This tutorial walks you through your first OATS experience: installation, provider configuration, your first synthesis, and the approval flow. By the end, you will have synthesized and executed a real tool in under five minutes.
Step 1: Install OATS
OATS will be distributed as a Python package on PyPI. You will need Python 3.11 or later. When the public release lands, you will install it with pip:
pip install oats-aiVerify the installation:
oats --versionYou should see the current version number printed to stdout. If you prefer isolated environments, pipx install oats-ai will work as well once OATS is published, keeping it out of your global Python environment.
Step 2: Configure a Provider
OATS uses an LLM to generate the tool code from your intent. You need at least one provider configured. There are two paths: a cloud provider like Anthropic (requires an API key), or a local provider like Ollama (free, runs on your machine).
Option A: Anthropic (Cloud)
Set your API key as an environment variable:
export ANTHROPIC_API_KEY=sk-ant-your-key-hereThat is all the configuration Anthropic requires. OATS will use Claude as the synthesis engine by default when you specify --provider anthropic.
Option B: Ollama (Local, Free)
If you do not have an API key or prefer to keep everything local, Ollama runs open-weight models on your own hardware. Install Ollama from ollama.com, then pull a model:
ollama pull llama3.2No API key needed. No data leaves your machine. Synthesis quality varies by model size — larger models produce more reliable tool code — but for learning the OATS workflow, any reasonably capable model works.
Step 3: Your First Synthesis (Dry Run)
Let us start with a dry run. A dry run synthesizes the tool code and shows it to you but does not execute it. This is how you inspect what OATS generates before committing to execution.
oat synth "Get the current date and time" --provider anthropic --dry-runOATS sends your intent to the configured provider, which generates a self-contained Python function that fulfills the request. The output shows you the complete generated code — typically a function that uses standard library modules like datetime to retrieve the current date and time, formatted as an ISO 8601 string.
The dry run output includes several key pieces of information: the synthesized code in full, the risk assessment (LOW, MEDIUM, or HIGH based on what the code does), the capabilities the code requires (filesystem access, network access, etc.), and a summary of what the tool will do when executed. Review this carefully. The entire point of the OATS workflow is that you see exactly what will run before it runs.
Step 4: Approve and Execute
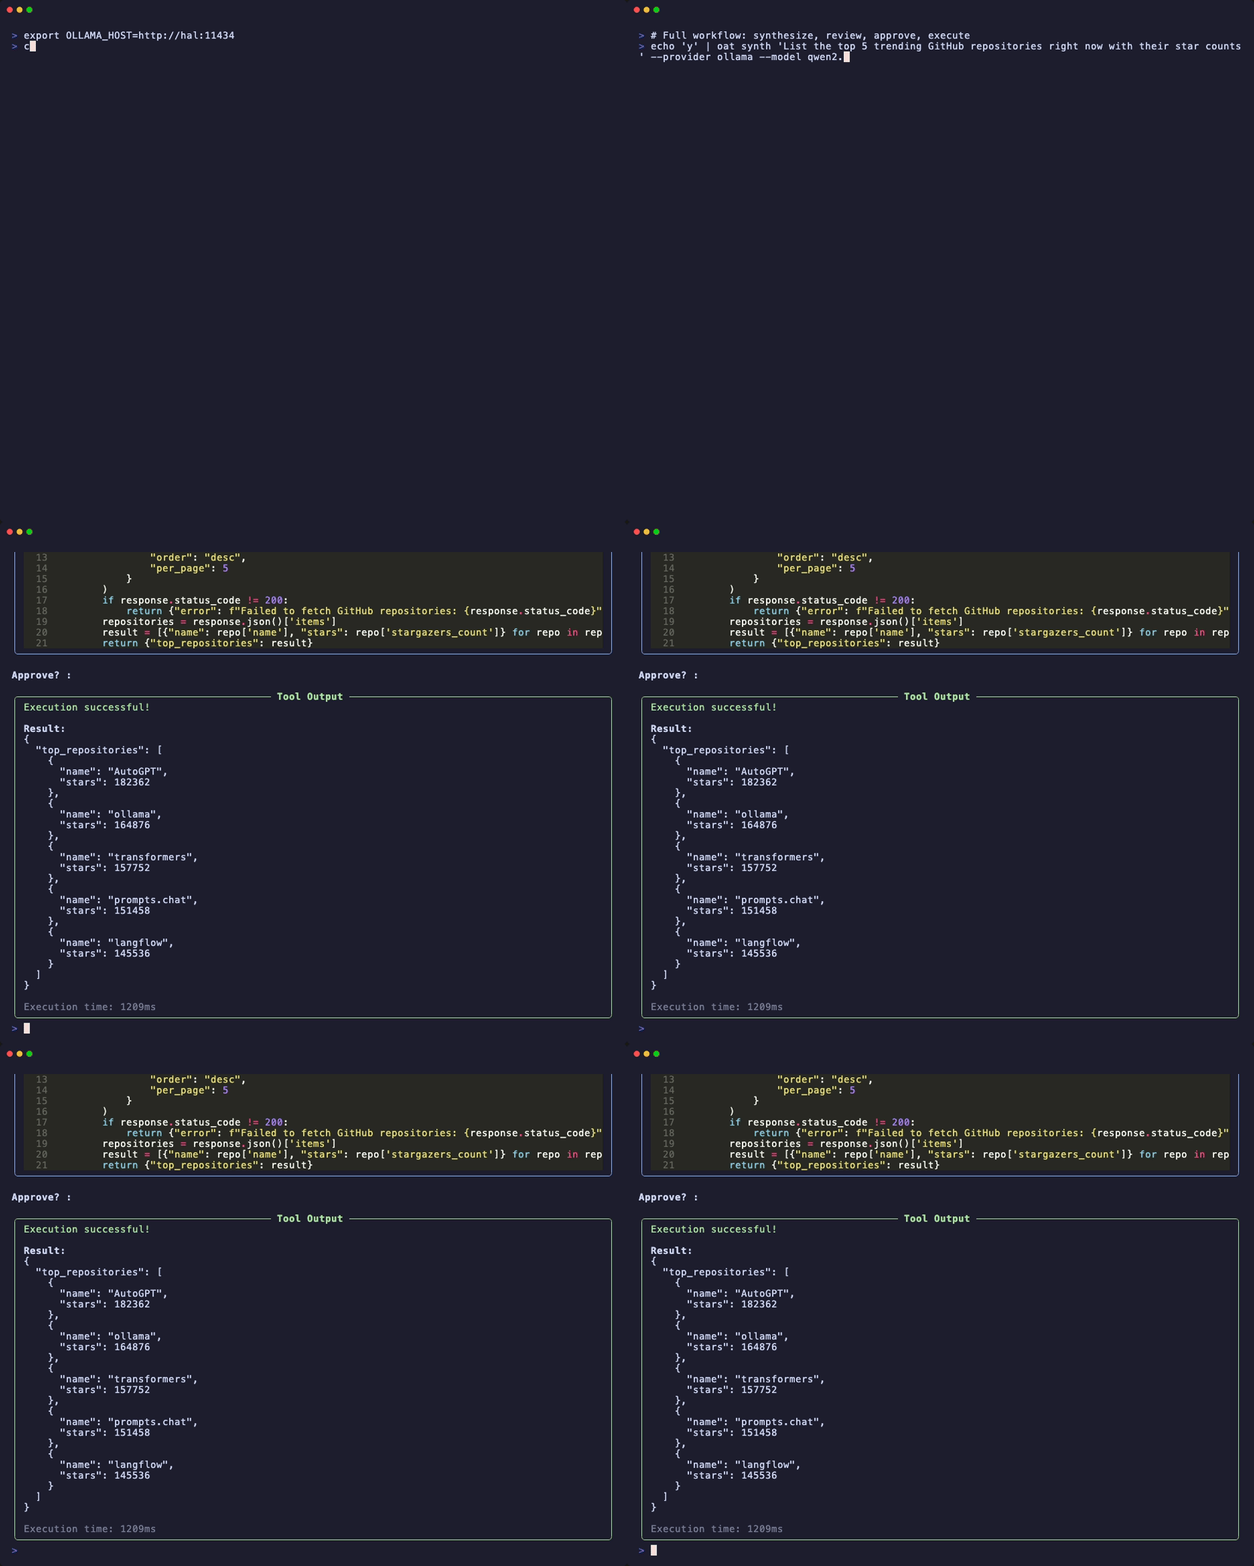
Once you are comfortable with the dry run output, run the synthesis without the --dry-run flag but with --show-code to see the generated code before approving execution:
oat synth "Get the current date and time" --provider anthropic --show-codeOATS will display the generated code and prompt you for approval. You have three options: approve (the tool executes in a sandbox and returns the result), reject (nothing executes, the code is discarded), or edit (modify the code before execution). For a simple date-time retrieval, approve it. You should see the current date and time printed to your terminal.
This is the core OATS loop: describe intent, review code, approve, execute. Every synthesis follows this pattern, whether the tool is a one-line date retrieval or a multi-step API integration with authentication and error handling.
Step 5: Explore Capabilities
OATS tracks what synthesized tools are capable of through its capabilities system. List the registered capabilities:
oat caps listCapabilities describe the permissions and access patterns that synthesized tools can request: network access, filesystem reads, filesystem writes, shell execution, and others. When OATS synthesizes a tool, it analyzes the generated code to determine which capabilities it requires and reports them as part of the risk assessment. A tool that only uses standard library functions will show minimal capabilities. A tool that makes HTTP requests will show network access. A tool that writes files will show filesystem write access.
This capability tracking feeds directly into the approval flow. You can configure policies that auto-approve tools with only LOW-risk capabilities while requiring manual approval for tools that request network or filesystem access. The governance model is explicit and auditable.
Step 6: A More Interesting Example
Let us synthesize something that actually hits a network API. This example uses Ollama as the provider to demonstrate that everything works locally:
oat synth "Fetch Bitcoin price from CoinGecko" --provider ollama --model llama3.2OATS generates a tool that makes an HTTP GET request to the CoinGecko public API, parses the JSON response, and extracts the current Bitcoin price in USD. The risk assessment will show MEDIUM because the tool requires network access. You will see the full HTTP request being constructed, including the URL, headers, and response parsing logic.
Review the code. Verify that it only calls the CoinGecko API (not some other endpoint). Verify that it does not write to the filesystem or execute shell commands. Approve it. You should see the current Bitcoin price printed to your terminal.
Understanding the Provider Model
OATS supports multiple providers, and switching between them is a single flag change. The same intent produces functionally equivalent tools regardless of which LLM generates the code. The providers currently supported include Anthropic (Claude models via API), OpenAI (GPT models via API), Ollama (any locally-hosted model), AWS Bedrock (Claude and other models via AWS), our platform (models routed through the platform), and any OpenAI-compatible endpoint.
This multi-provider support is not cosmetic. It is the foundation of a practical development workflow: use Ollama locally during development and testing (free, fast, no data leaves your machine), then switch to Anthropic or Bedrock for production synthesis where you need the highest-quality code generation. The intent stays the same. The approval flow stays the same. Only the synthesis engine changes.
What Comes Next
You have now seen the complete OATS workflow: install, configure a provider, describe an intent, review the synthesized code, approve, and execute. This is the foundation that everything else builds on. From here, the natural next steps are:
- Configure approval policies to auto-approve low-risk tools while gating high-risk operations for manual review
- Use OATS as an MCP server inside Claude Code, Cursor, or any MCP-compatible client for governed tool synthesis within your development environment
- Integrate with the platform for enterprise features: RBAC, workspace isolation, audit logging, and multi-provider routing
- Explore sandboxed execution with network policies and credential scoping for production-grade tool synthesis
The key insight behind OATS is that tool synthesis should feel as natural as writing a prompt. You describe what you need. You review what was generated. You approve it. The framework handles everything else — code generation, sandboxing, execution, and cleanup. Five minutes to your first tool. Five more to understand why you will never want to go back to pre-built wrappers.